
After creating our tutorial on making bouquets we thought it might be helpful to show how to make a centerpiece. We are going to show two different types of centerpieces. The first is a very casual centerpiece, appropriate for a rehearsal dinner or relaxed reception. The second is a more compact and constructed centerpiece, for a more elegant or modern reception. Enjoy the tutorial!
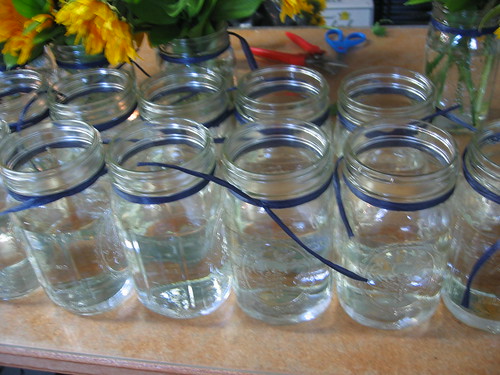
First, start with all of your containers. Add any ribbons all at once to get the most consistency in design. Fill each container with water at this point as well.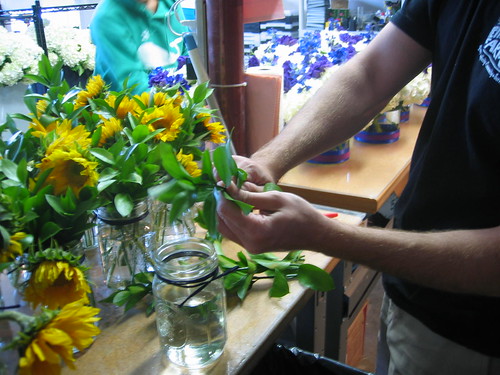
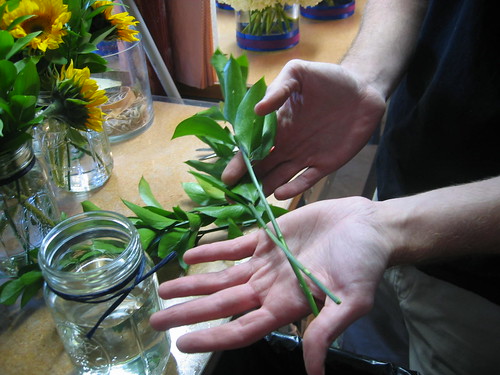
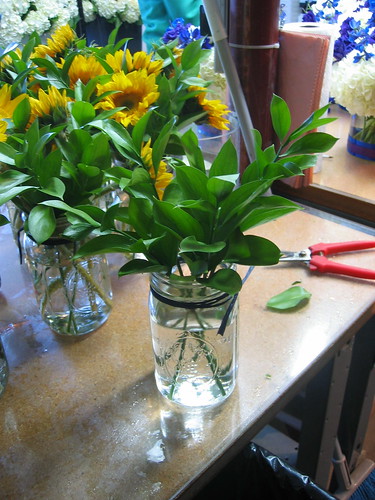
If you're using a filler flower or leaves, put them in the container first. Make sure there are no leaves in the water, so remove any leaves from the stems. The leaves under the water causes the water to get dirty much faster, reducing the life of your flowers.
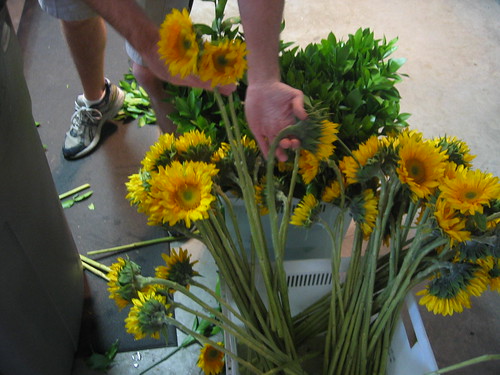
Select the flowers you need for your arrangement.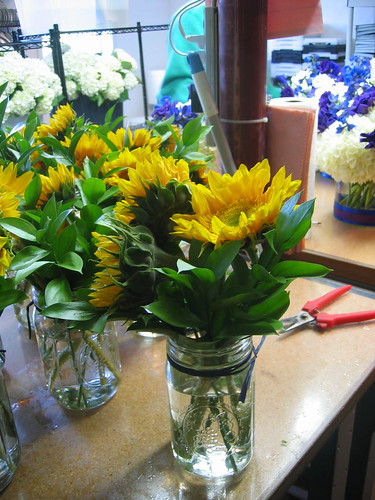
Cut the stems to a slightly longer length then you think you'll need and place the flowers in the container.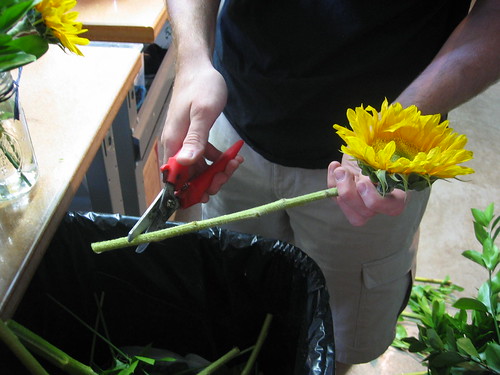
You can always cut your stems shorter, but you can't add length to them :)
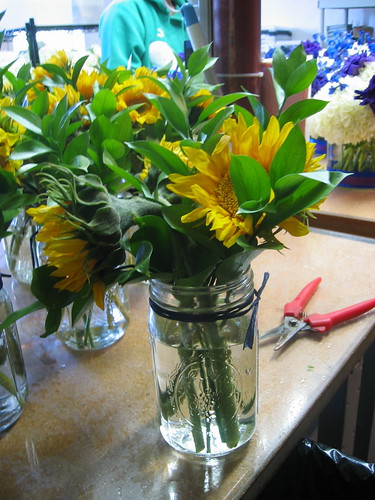
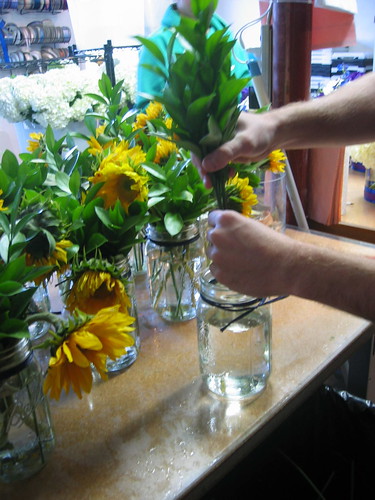
When the stems are the right length, adjust the flowers and filler greens until the arrangement looks right to you!
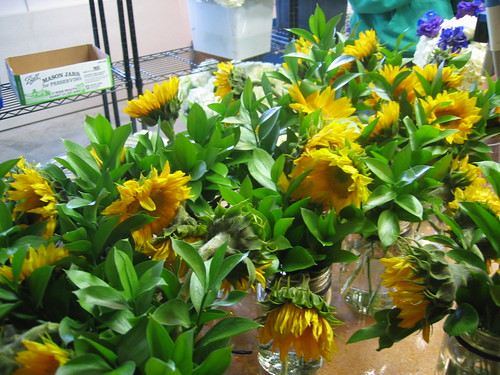
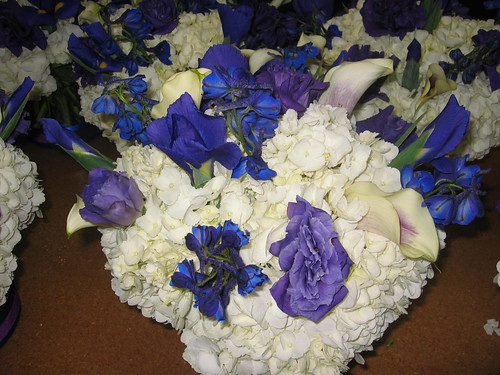
Here are lots of centerpieces ready to go to the welcome reception!
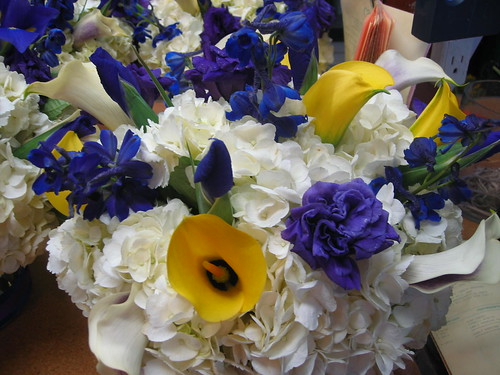
A more formal arrangment...
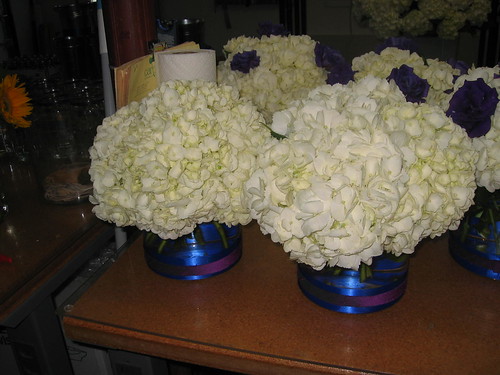
Just like the more relaxed arrangments, start with all of your vases and apply any ribbon (if applicable) and fill your containers with water.
Begin filling your vases with filler flowers or leaves. For this demonstration, we used hydrangea which are great filler flowers. Here we gathered about 5 to 6 stems to form a pyramid shape and used a rubberband to hold them together (just go around them with the rubberband a few times - it doesn't need to be super tight since you are filling the vase with more flowers).
Cut the stems to fit your vase accordingly.
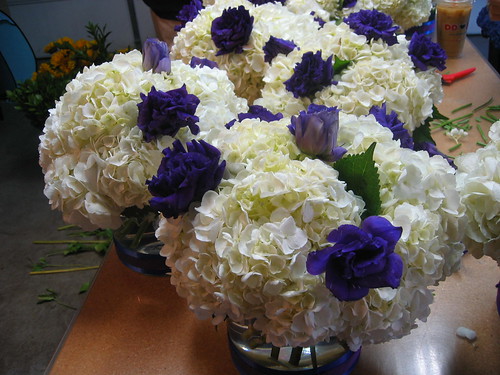
Take your next flower and begin to fill each of your vases. Again, cut the stems a bit longer until you reach the desired length. Also, when you place the stem into the arrangement, double check to see that the stem is hitting the water!
As you continue to place flowers into the container, be sure to turn the vase around to make sure all sides of your container looks even since guest will be sitting fully around the arrangement.
Once you have reached the desired look of your arrangement, and if your stems are fully visable through the container, gather the entire arrangement and pull it out from your container. Cut all stems to be an equal length (it's great to have at least 2 people doing this together so that you don't lose the look of your arrangement). At this time, if the water is cloudy or has flower debris in it, empty the water and refill it to get a clean look and to keep your flowers fresh.
Once you have completed your arrangments and before placing them on tables, double check your flowers to see if any need replacing. Another helpful tip is to spray your arrangements with water periodically to keep them fresh.

Wow, that blue and white arrangement is beautiful! Those were my colors at my wedding, and wish I had seen this 4 years ago! :)
ReplyDelete